Of docker containers and Arm mini-computers
This article will be on a very different topic than the ones I’ve been talking about usually in this blog.
This time it’ll be about Docker containers running on a small, Raspberry PI kind of computer made by Toradex. And we’ll be using the containerized version of Pi-Hole as an example, so you’ll also get some bonus info on networking on Docker on Linux.
The hardware (and it’s software)
Before pulling any image or configuring any network, I think it’s worth talking a bit about the hardware I’ll be targeting because some things will have to consider it.
Almost a year ago, I attended the C++ Day in Parma (oh and by the way, do not miss the one we’ll have later this year, it’ll be an online event!). There, I took part in one of the mini-challenges that Marco Arena loves to pull off with the attendees and won a lovely Toradex Colibri iMX6: it’s a mini-computer composed of a System on a Module (SoM) and a carrier board. The SoM sports a dual-core Arm Cortex A9 running at 1GHz, with 512MB DDR3 Ram, 4GB of internal storage: everything’s soldered on a SODIMM-like PCB which plugs into the Aster carrier board that came with it. The carrier board provides the developer with lots of I/O to interact with the SoM.
By default, the Toradex’s solution ships with Torizon, a Yocto Project based OS that supports Docker right out of the box. Turn it on, wait a few seconds and you’ll be ready to connect to it through SSH
ssh torizon@colibri-imx6-<yourid>

colibri-imx6-<yourid>:~$ uname -a
Linux colibri-imx6-<yourid> 5.4.43-4.0.0-devel+git.ed141ad4be96 #1-TorizonCore SMP Wed Jul 1 16:19:28 UTC 2020 armv7l armv7l armv7l GNU/Linux

colibri-imx6-<yourid>:~$ docker version
Client:
 Version:           19.03.12-ce
 API version:       1.40
 Go version:        go1.14
 Git commit:        48a66213fe
 Built:             Wed Jul  1 13:56:22 2020
 OS/Arch:           linux/arm
 Experimental:      false
The software
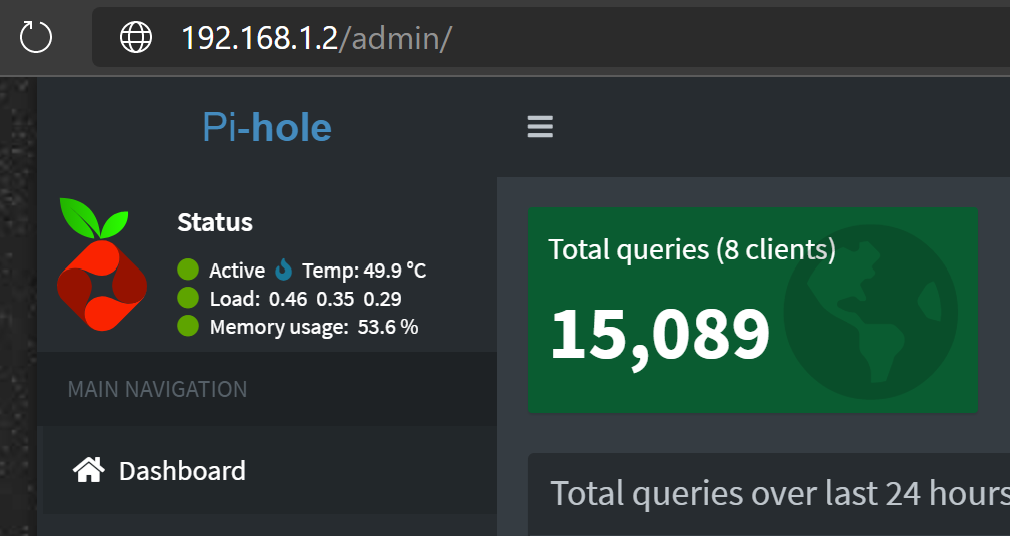
As mentioned above, we’re going to use Pi-Hole as an example container to run in this environment. But what exactly is Pi-Hole? As the creators state on the website, it’s a Network-wide Ad Blocker: it blocks ads and malware at the network level, resulting in web pages to be loaded except for those parts that contain ads.
I don’t want to step into the fierce battle pro or versus online advertisements. This is just a tool you can (or don’t!) use on your local network, for which well done whitelists exist to still allow web pages to generate revenue.
The procedure
As the first thing, you’ll want to get the docker image: remember, this is still a low power computer and downloading (but most importantly extracting) will take a while:
colibri-imx6-<yourid>:~$ docker pull pihole/pihole
While the above command is running, open a new SSH shell to the Toradex computer: we’re going to create the appropriate network connections for this to work!
First, let’s see what kind of connections are configured on this little box:
colibri-imx6-<yourid>:~$ nmcli

...
ethernet0: connected to network0
        "ethernet0"
        ethernet (fec), 07:2B:B9:CA:22:0E, hw, mtu 1500
        ip4 default
        inet4 192.168.1.184/24
        route4 192.168.1.0/24
        route4 0.0.0.0/0
        inet6 fe80::8e56:116b:eb49:3cf9/64
        route6 fe80::/64
        route6 ff00::/8
Of course you’ll see more networks, those created by default by Docker. But the important one is this one: it represents the network created over the physical interface ethernet0. Since Pi-Hole requires its own address there are a couple of solutions:
- you let Docker create automatically a bridged network for this docker and just bind all the ports from the host network (the one bound to the physical network interface) down to Pi-Hole’s own little world
- you create a virtual network interface linked to the physical one and use it to create a new network, with its own IP address, just for Pi-Hole
I went with the second option as, by default, Torizon has the port 53 already bound by one of its out-of-the-box services. Of course you could clean up the environment, free up that port and follow the first route: it’s up to you to decide!
The first thing we’re going to do, is to assign a static IP address to the Toradex computer, just to make our life a little easier later on:
colibri-imx6-<yourid>:~$ nmcli con edit network0
nmcli> set ipv4.addresses 192.168.1.254/24
Do you also want to set 'ipv4.method' to 'manual'? [yes]: yes
nmcli> set ipv4.gateway 192.168.1.1
nmcli> save
nmcli> quit
At this point, you should have been disconnected due to the IP change. Reconnect, and let’s create the new virtual network interface:
colibri-imx6-<yourid>:~$ nmcli con add type macvlan ifname macvlan0 autoconnect yes save yes dev ethernet0 mode bridge ip4 192.168.1.0/24
The above command tells NetworkManager to add a new connection of type macvlan, name it macvlan0, link it to the physical device ethernet0 in bridged mode. Also, we’re not specifying the IP address at this point. This is just the physical interface and we’re just specifying the subnetwork it’ll work on; the IP will be defined later on via docker-compose.
Now let’s check our current situation with ifconfig:
ethernet0 Link encap:Ethernet  HWaddr 07:2b:b9:ca:22:0e
          inet addr:192.168.1.254  Bcast:192.168.1.255  Mask:255.255.255.0
          inet6 addr: fe80::8e56:11f3:e4b3:b18a/64 Scope:Link
          UP BROADCAST RUNNING MULTICAST  MTU:1500  Metric:1
          RX packets:110971 errors:0 dropped:5 overruns:0 frame:0
          TX packets:94561 errors:0 dropped:0 overruns:0 carrier:0
          collisions:0 txqueuelen:1000
          RX bytes:21211721 (20.2 MiB)  TX bytes:22388391 (21.3 MiB)

macvlan0  Link encap:Ethernet  HWaddr ba:26:49:e8:fa:97
          inet addr:192.168.1.0  Bcast:192.168.1.255  Mask:255.255.255.0
          inet6 addr: fe80::49aa:ae92:8fa3:74ba/64 Scope:Link
          UP BROADCAST RUNNING MULTICAST  MTU:1500  Metric:1
          RX packets:28506 errors:0 dropped:0 overruns:0 frame:0
          TX packets:5562 errors:0 dropped:0 overruns:0 carrier:0
          collisions:0 txqueuelen:1000
          RX bytes:3918713 (3.7 MiB)  TX bytes:477197 (466.0 KiB)
All right, everything checks out. At this point, we only have to launch the Pi-Hole container, instructing docker to create an appropriate network which uses the newly created virtual interface.
To do so, we’re going to use docker-compose. Create a folder on your home directory, such as mkdir compose/pihole and then create a blank docker-compose.yml file in it. Open it with your favorite text editing software and paste the pre-configured yml found in the Pi-Hole’s docker hub, then add the following:
version: "2"

networks:
  piholenet:
    driver: macvlan
    driver_opts:
      parent: macvlan0
    ipam:
      config:
        - subnet: 192.168.1.0/24
          gateway: 192.168.1.1

services:
  pihole:
    ...
    networks:
      piholenet:
        ipv4_address: 192.168.1.2
    ...
The above will instruct Docker to create a network for our container, using the physical (actually virtual) interface macvlan0.
Everything should be set-up and ready to go. Let’s try:
colibri-imx6-<yourid>:~$ docker-compose up -d
Conclusions
As with a lot of projects like this one, many things can differ from one’s configuration to the other. This article’s goal was not to provide a step-by-step guide to have something so personal as a DHCP and DNS server custom-tailored for your network. Instead, I wanted to document the main steps I had to take to end up having a working docker container, with its own bridged virtual network interface, running on a funny little Arm computer.
I hope you’ve enjoyed something a little different from the usual C++ stuff. Take care.